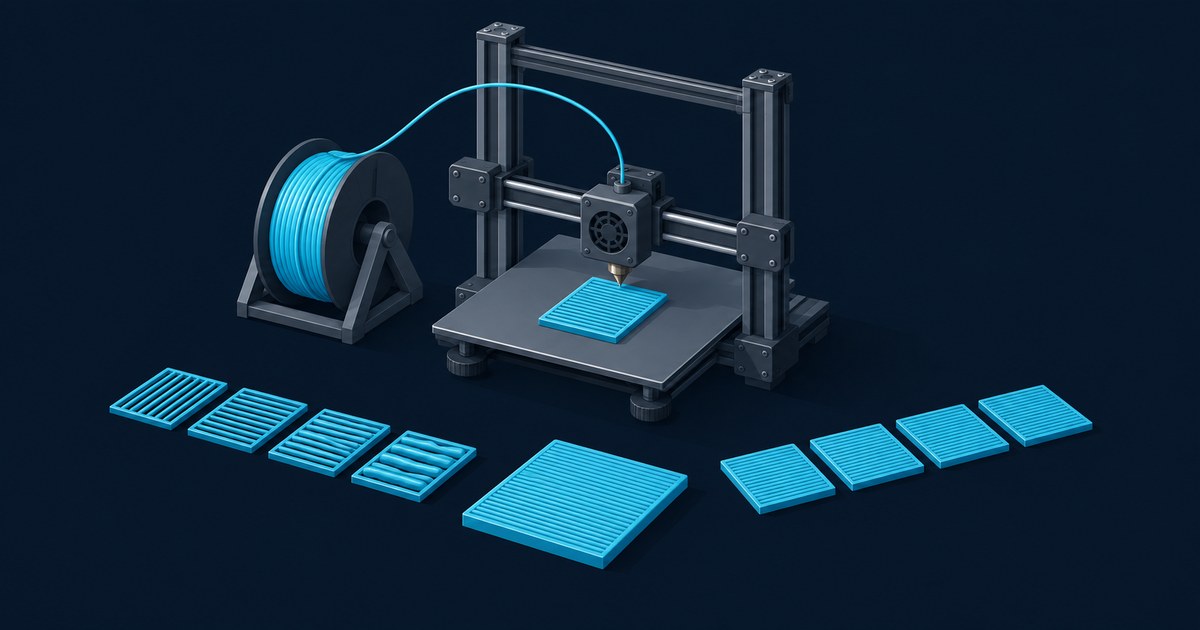
Most “bad slicer settings” problems are actually uncalibrated-printer problems. If flow rate and temperature are wrong, no quality setting can compensate — you’re tuning seam placement on a printer that’s over-extruding by 6%, which is like adjusting the mirrors on a car with a bent axle.
Two calibrations underpin everything else: temperature (how well the plastic bonds) and flow rate (how much plastic comes out). Get both right, temperature first, before trusting any other setting.
Why order matters
Run the temperature tower first, then flow. OrcaSlicer’s calibration guide orders the tests as temperature, max volumetric speed, pressure advance, then flow ratio, then retraction. A flow ratio tuned at one temperature has to be redone once the temperature moves, so pick the temperature from the tower and then calibrate flow at that temperature. One pass each, in that order, is enough for most filaments.
Step 1: Temperature tower
A temperature tower prints the same geometry in stacked segments, each at a different hotend temperature, typically stepping in 5 °C increments across the material’s range.
Generating it
- OrcaSlicer: Calibration → Temperature. It generates the tower model and inserts the per-segment temperature G-code automatically. Set the start/end temperatures to bracket the filament’s printed range.
- PrusaSlicer / Bambu Studio: import a temperature-tower STL and use the per-height temperature change (a “Custom G-code at layer/height” entry, or the height-based color/temperature change). The slicer inserts an
M104/M109at each band.
Always start from the temperature range printed on the spool. A “PLA tower” from 190 °C to 230 °C is pointless if that spool’s range is 200–220 °C — test 195–225 to bracket it slightly, not arbitrary numbers.
Judging the tower
Inspect each band for four things:
- Layer adhesion — try to snap or peel a band. Higher temperatures usually bond stronger. This is the most important criterion for functional parts.
- Stringing / oozing — wisps between the tower’s overhang fingers or pillars. Lower temperatures string less.
- Bridging and overhang quality — sag on the test’s overhang features. Lower temperatures hold overhangs better; too low and adhesion suffers.
- Surface finish — blobbing, scarring, or zits worsen at temperature extremes.
The right temperature is the lowest one that still gives strong layer adhesion with acceptable stringing and overhangs — usually a single value that balances all four, not the absolute hottest or coolest band.
Step 2: Flow ratio (extrusion multiplier)
Flow ratio scales how much filament the extruder pushes. The goal is a top surface that’s neither gappy (under-extruded) nor bulging and rough (over-extruded). Run it at the temperature you just picked.
The built-in method (OrcaSlicer)
OrcaSlicer’s Calibration menu generates the flow test in one print, per the OrcaSlicer flow ratio wiki:
- YOLO (Recommended): prints 11 blocks with flow modifiers from -0.05 to +0.05 in 0.01 steps. Pick the block with the smoothest, gap-free top, judging the centre and ignoring the edges.
- Calculate: add the winning modifier to your current flow ratio. From 0.98 with +0.01 winning, the new value is 0.99.
Enter the result in the filament profile’s Flow ratio field. The older two-pass test is still in the menu, labelled legacy: Pass 1 runs from -20 to +20% and Pass 2 narrows in from there, using percentage maths rather than added steps. The Orca Slicer flow rate calibration guide covers both methods and how to read the blocks.
Other slicers (PrusaSlicer / Bambu Studio)
Bambu Studio has built-in flow-rate calibration in its Calibration menu, alongside flow dynamics and max volumetric speed. PrusaSlicer ships no flow test generator, so the durable approach there is the thin-wall measurement:
- Print a single-wall open box (a 0.4 mm-wall cube with no top/bottom) at 100% flow.
- Measure the wall thickness with calipers at several points and average it.
- New flow = current flow × (intended line width ÷ measured wall thickness).
Reading the result
- Gaps between top-surface lines, visible pinholing: under-extruding — raise flow.
- Raised ridges, rough/bumpy top, dimensions oversized: over-extruding — lower flow.
- Smooth, fused, flat top with correct dimensions: correct.
Flow ratio is per filament type and brand, sometimes per spool. A new brand of PLA is a new calibration.
Step 3: Store both values together
Lock the temperature and the flow ratio into the filament profile together. Treat them as a paired calibration stored per filament: if you later change that filament’s temperature, rerun the flow test at the new value.
Common mistakes
- Calibrating on the wrong surface. Judge flow on a top surface or a single-wall thickness, not on infill or side walls — those hide the error.
- Towering outside the spool’s range. You’ll pick a temperature that looks fine on the tower but degrades the polymer or under-bonds in real prints.
- One global flow number for all filaments. Flow is per material and brand. A profile that’s perfect for one PLA can over-extrude another by several percent.
- Skipping straight to speed/quality tuning. The other tests depend on a settled temperature. Calibrate in order.
The other calibrations
Two more tests sit between temperature and flow in OrcaSlicer’s order: max volumetric speed (the real speed ceiling) and pressure advance (crisp corners and seams). Retraction (stringing) comes after flow. Run all of them before chasing high print speeds; the core settings guide explains why volumetric speed, not the speed number, is the true cap.
Where to go next
For applying calibrated profiles per material, see the material profiles guide. For diagnosing defects that survive correct calibration, see troubleshooting print defects in the slicer.
For the measurement and materials-science background behind these tests, PrintLabGuide goes deeper, and FDM Desk covers printer-specific calibration profiles.