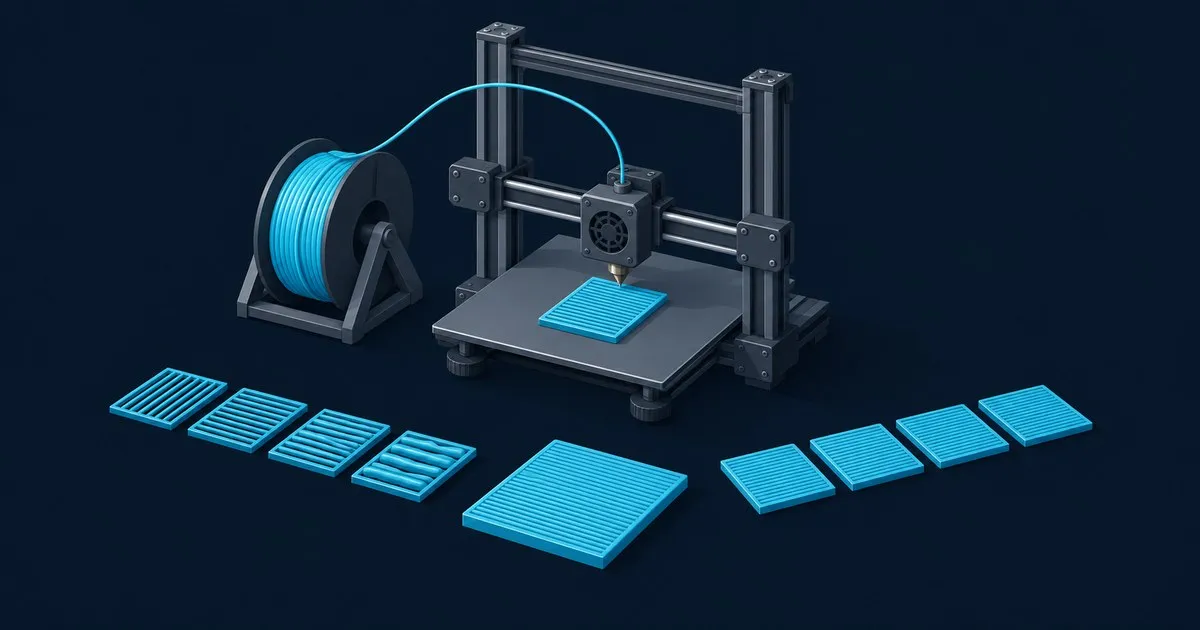
For Orca Slicer flow rate calibration, run Calibration > Flow ratio > YOLO (Recommended). It prints 11 blocks with modifiers from -0.05 to +0.05 in 0.01 steps. Pick the block with the smoothest centre and no gaps between the arcs, add its modifier to your current flow ratio (0.98 + 0.01 = 0.99), and save that in the filament profile.
One print usually gets you there. The legacy two-pass routine needs two prints, 19 blocks and percentage maths. Procedures and numbers below come from the OrcaSlicer wiki’s flow ratio page and Ellis’s extrusion multiplier guide.
What does the flow ratio change in OrcaSlicer?
Flow ratio is a multiplier on every extrusion move: at 0.95, the extruder pushes 5% less filament than the sliced geometry calls for. The OrcaSlicer wiki lists the symptoms at each end. Too low gives gaps, weak layers and poor structural integrity. Too high gives excess material, rough surfaces and dimensional inaccuracies.
The value lives in the Flow ratio field of the filament settings, so it travels with that filament profile across every process and plate. The test blocks are built around that current value, which is why Orca makes you select the filament first.
Process-level multipliers stack on top. Under Quality > Wall and surfaces, the top and bottom surface flow ratios are multiplied by the filament flow ratio, and by the object’s flow ratio if set. “Set other flow ratios” adds similar multipliers for first layer, walls, infill, gap fill and supports. The wiki recommends calibrating filament flow before setting any of them away from 1. A top surface ratio left at 0.95 shifts every test block’s top skin by 5%, and your filament value ends up compensating for it.
Flow ratio will mask, not fix, a wrong filament diameter setting, an uncalibrated extruder, a partial clog or a wet spool. If the result lands far from the stock profile’s starting value, check those before blaming the filament.
What to do before you print the test
Calibrate in Orca’s order. The OrcaSlicer calibration guide runs temperature, max volumetric speed and pressure advance before flow ratio, then retraction, cornering, input shaping and VFA. Ellis’s guide agrees: tune pressure advance before the extrusion multiplier. See the pressure advance settings guide for where PA lives in Orca and the temperature tower walkthrough for judging the first test.
Then clear the deck:
- Select the exact printer and filament profile you will print with. A PLA value calibrated on one brand and reused for another is a guess.
- Set top and bottom surface flow ratio to 1 and switch off “Set other flow ratios”.
- On a Bambu Lab printer, leave the “Flow calibration” option unticked when sending the job, as the wiki instructs.
- Dry the spool if it crackles at the nozzle, or you’ll be calibrating to its water content.
How to run the YOLO flow test
- Load the printer, filament and plate type you normally print with.
- Open the Calibration menu, go to the Flow ratio section and choose YOLO (Recommended). Orca opens a new project with 11 blocks, each labelled with its modifier from -0.05 to +0.05.
- Slice and print.
- Let the plate cool, then inspect the blocks with a light held low across the surface so every ridge and valley throws a shadow.
- Pick the winner and calculate: new flow ratio = old flow ratio ± modifier. From 0.98 with +0.01 winning, the new value is 0.99. From 1.00 with -0.03 winning, it’s 0.97.
- Save the result in the filament’s Flow ratio field, then create a new project; the calibration guide notes that is how you exit calibration mode.
A perfectionist variant covers -0.04 to +0.035 in 0.005 steps. Run it when two neighbouring blocks look equal, or for display pieces where the top surface sells the part.
How do you read the Archimedean chords blocks?
Judge only the centre of each block. The right block has the smoothest top surface, no visible gaps between the arcs, and minimal or no visible line where the inner spiral meets the outer arcs. Gaps mean under-extrusion. A rough top with a raised ridge at the spiral boundary means over-extrusion. Ignore the edges.
That edge rule comes from SoftFever in pull request #8993: in all Orca flow tests, edge regions “should always be discarded as irrelevant.” Ellis notes manual test cubes normally look more over-extruded near edges and corners too.
That pull request swapped the old monotonic-line top for Archimedean chords, based on jimcorner’s Improved Flow Ratio Calibration model, with gap fill disabled. The inner spiral prints last, so surplus plastic piles up at the boundary where you can see it.
| What the centre shows | Diagnosis | Next step |
|---|---|---|
| Visible gaps or valleys between arcs | Under-extrusion | Move to a higher modifier |
| Arcs fused, smooth under a fingernail, faint or no line at the spiral | On target | Use this block |
| Rough, raised surface, clear ridge or bulge at the spiral edge | Over-extrusion | Move to a lower modifier |
The criteria can disagree. In GitHub discussion #9609, a user found the spiral bulge appeared before the surface reached its smoothest. One reply offered a rule: take the lowest-numbered block showing the first sign of a bulge at the circle’s edge, then add 0.01. The wiki’s own example picks +0.01 despite a faint line at the spiral, because lower values opened gaps. When torn, favour the block without gaps: a gap is a hole in the top skin, a faint ridge is cosmetic.
If your blocks print straight monotonic lines instead of arcs, that matches a reported v2.3.0 bug where YOLO ignored the top surface pattern (issue #10901). Judge those blocks the classic way: smoothest top, no gaps, centre only.
The legacy 2-pass method and its formula
Pass 1 and Pass 2 are still in the Flow ratio menu, and the wiki now labels them legacy. They use percentages rather than absolute steps:
new flow ratio = old flow ratio × (100 + modifier) / 100
- Pass 1 prints nine blocks labelled -20, -15, -10, -5, 0, +5, +10, +15 and +20 (issue #3022 shows the plate layout). With an old value of 0.98 and +5 winning: 0.98 × 10⁵ / 100 = 1.029. Save that to the filament before continuing, because Pass 2 builds on the current value.
- Pass 2 prints ten blocks from -9 to 0. With -6 winning: 1.029 × 94 / 100 = 0.96726.
Keep the maths separate: YOLO labels are added directly, 2-pass labels are percentages.
Manual cross-check with exact settings
For a second opinion, Ellis’s method uses plain cuboids, one flow value each; Orca’s per-object flow ratio puts a full set on one plate. For PLA on a 0.4 mm nozzle at 0.20 mm layers:
- Model: 30 × 30 × 3 mm cuboid per flow value
- Top surface line width: 100% of nozzle, so 0.40 mm
- Sparse infill: 30% or more
- Bottom layers: 2
- Top layers: as many as fit while leaving at least two infill layers, roughly 11 in a 3 mm part at 0.20 mm
- Top surface pattern: monotonic
- Top solid infill speed: 60 mm/s
- Minimum layer time: 0
- Steps: 1 to 2% apart first, then 0.5% around the winner
Ellis explicitly rejects measuring wall thickness with calipers for this. Judge the top by eye and by touch: at the right value, the top should feel noticeably smoother than its neighbours.
How to verify the new value
Print one 30 × 30 × 3 mm cube at the new flow ratio with your everyday process profile, surface flow ratios still at 1. It passes when:
- the centre of the top surface shows no gaps or pinholes between lines;
- the lines are fused without ridging, and a fingernail drags smoothly across them;
- the top matches the block you chose from the calibration plate.
If gaps persist at a flow that already over-extrudes the walls, suspect too few top layers, weak infill under the skin, or temperature; the slicer-side defect guide covers those. Once the top skin is right, a glass-flat finish is a job for ironing, not more flow.
Rerun the test for every filament brand and type, the minimum Ellis sets, and after swapping the nozzle or hotend. The material profiles guide covers what else changes for PETG, ABS and TPU.
FAQ
what is a good flow ratio in orca slicer
There is no universal good flow ratio; the right value is whatever the YOLO test picks for that filament on your printer. The OrcaSlicer wiki’s worked examples start from 0.98. If your result lands far from the stock profile’s value, check filament diameter, extruder calibration and nozzle condition before accepting it.
should i calibrate temperature or flow first in orca slicer
Calibrate temperature first. OrcaSlicer’s calibration guide orders the tests as temperature, max volumetric speed, pressure advance, then flow ratio, then retraction. Ellis’s tuning guide also puts pressure advance ahead of the extrusion multiplier, so a flow value set before those earlier tests may need redoing once they change your profile.
why do all my orca flow calibration blocks look the same
Neighbouring YOLO blocks differ by only 0.01, so the differences are subtle and easy to miss. Inspect the centre of each block under a low, raking light and ignore the edges. On Bambu Lab printers, confirm the Flow calibration option was unticked, and check the top surface flow ratio is 1.
do i need to redo flow calibration for every spool
Not every spool, but at least every filament brand and type, which is the minimum Ellis’s guide sets. Rerun it on a new spool of an already-calibrated filament only if top surfaces start showing gaps or ridges, and after changing the nozzle or hotend, since either can shift the result.
Related across the network
- Best Orca Slicer Settings: 12 Values That Matter — fdmdesk.com
- Klipper Pressure Advance Tuning Guide: Calibrate and Save PA — voronlab.com
- Creality Print 7 vs Orca Slicer: Which One to Use? — crealityreviews.com