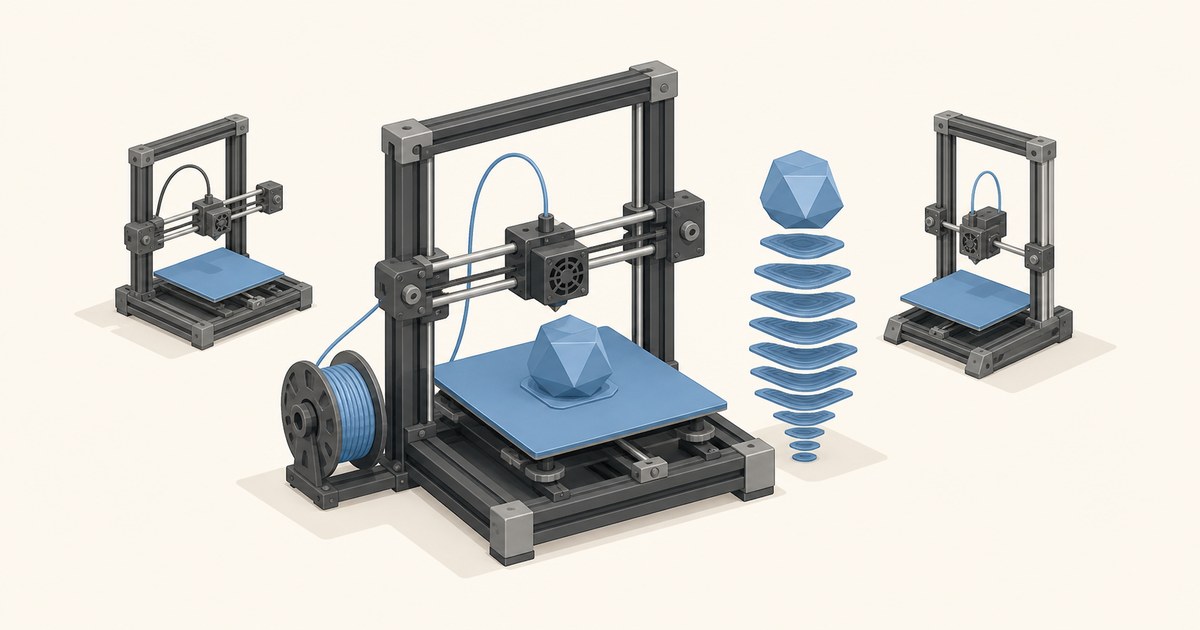
Every FDM print has a Z-seam. It’s the vertical line where each perimeter layer starts and ends — physically unavoidable on a printer that lays down filament continuously and has to begin and end somewhere. What you can control is where the seam ends up, and whether it ruins an otherwise-clean print or hides where nobody will look.
This is one of those settings where the defaults are reasonable, but understanding the modes makes the difference between “good enough” and “I have to point it out for people to notice the seam.”
The four common seam modes
All major slicers offer roughly the same set of options, even though they use different names for them.
| Slicer | ”Hide in corner" | "Random" | "Align” / “Aligned" | "Rear / Custom” |
|---|---|---|---|---|
| PrusaSlicer | Nearest | Random | Aligned | Rear / Painted |
| Bambu Studio | Nearest | Random | Aligned (default) | Back / Painted |
| OrcaSlicer | Nearest | Random | Aligned | Back / Painted |
| Cura | Sharpest Corner | Random | Shortest | User Specified |
The four real modes:
- Nearest / sharpest concave corner. The slicer looks for an inward-facing corner on each layer and starts the perimeter there. Prusa’s seam position article describes Nearest as picking a concave, non-overhang vertex “so that the seam is hidden inside the concave angle.” The surrounding geometry shades and obscures the start/end ridge.
- Aligned. Also corner-seeking: per the same article, Aligned uses the same logic as Nearest to find candidate points, then stacks the seam at roughly the same XY position on every layer so it forms one consistent vertical line.
- Random. Each layer starts at a different randomized position. This scatters the seam into a diagonal texture instead of stacking it into a visible vertical line. No single layer hides the seam — instead the eye doesn’t see a coherent line.
- User-specified / painted / rear. You tell the slicer where to put the seam. Most slicers offer “painted seam” tools where you draw a vertical strip on the model. Rear is a quick approximation that biases the seam toward the back of the part.
When to use each mode
Nearest / sharpest corner (default for most prints)
This is the right default. If your model has any pronounced corners — a printed enclosure, a bracket, a faceted miniature — the seam will hide cleanly in a concave intersection. The seam ridge gets visually absorbed by the geometry change.
It fails on:
- Smooth cylindrical or organic shapes (vases, figurines, smooth columns) where there are no corners for it to find.
- Slightly-faceted-but-mostly-smooth shapes where the slicer picks a “corner” that’s only marginally more concave than the surrounding wall — you get a seam in a near-flat area instead of a corner.
Random (use for smooth/organic shapes)
For organic shapes — figurines, vases, columns, anything spinning-symmetric — Random is the better choice. The seam still exists physically, but spreading it across all layers turns it into a diagonal texture rather than a vertical scar.
The trade-off is extra travel: Random can add travel moves between perimeters, so expect a slightly longer print.
Don’t use Random on prints with sharp corners — you’ll get a seam exiting through a corner edge at a random height, which looks worse than aligned.
Aligned (one consistent line)
Aligned searches for corners the same way Nearest does, then keeps the seam stacked in one vertical line instead of letting it move between candidates. On a cornered part that line sits inside a corner and reads as part of the geometry. On a smooth cylinder there is no corner to hide in, so you get a single visible vertical line of start/end ridges.
Use Aligned when:
- The part has a corner that can carry the seam and you want it as one clean line.
- The print will be post-processed (sanded, painted, vapor-smoothed): one line is easier to clean up than scattered starts.
- You’re specifically positioning the seam where it won’t be seen (against a wall, on the bottom of a bracket).
Painted / user-specified (use on hero prints)
For anything you actually care about — a gift, a display piece, a finished product — paint the seam manually. You decide which side faces away from the viewer, paint a vertical strip there, and the slicer will start every layer along that strip.
The painted-seam tools in Bambu Studio and OrcaSlicer are essentially identical and very usable. PrusaSlicer’s painted-seam tool works the same way.
This is the only mode that gives you reliable, repeatable seam placement on smooth shapes.
Seam-affecting settings that aren’t the seam mode
Even with the right mode, the seam can still look bad if other settings are wrong:
Wipe / retraction at layer start
The first millimeter of each perimeter is where the seam ridge forms. If you retract too little, you over-extrude at start and create a blob. If you retract too much and don’t compensate on un-retract, you start with a gap.
Tuning:
- Bambu Studio: “Wipe before retraction” + “Wipe distance” should be enabled. Default 2 mm wipe is fine.
- PrusaSlicer: “Wipe while retracting” enabled. “Avoid crossing perimeters” enabled.
- OrcaSlicer: Same as Bambu Studio. “Wipe before retraction” on.
Outer/inner wall order
Printing outer walls first leaves seams more visible because the seam-side of the outer wall is exposed to view. Printing inner walls first hides the seam slightly — the outer wall starts and ends against an already-printed inner wall surface that supports it.
Default in most slicers is inner-first. Don’t change it unless you have a reason.
Coasting / pressure advance
If your printer is well-tuned with input shaper and pressure advance, the seam blob caused by extrusion-pressure release at layer end largely disappears. This is the biggest win for seam quality and it has nothing to do with the seam mode itself.
If your seams look like blobs on a properly-configured printer, the issue is pressure advance, not the seam-placement setting.
A quick recommendation tree
- Print has sharp corners → Nearest or Aligned (Sharpest Corner in Cura).
- Print is smooth / organic → Random (for prototypes) or Painted (for hero prints).
- You’ll post-process the part → Aligned (one line to clean up).
- You care about how it looks → Always paint the seam.
Cross-references
Seam blobs are most often a pressure-advance calibration problem, not a seam-mode problem — the flow and temperature calibration guide and troubleshooting print defects both cover this directly. For the other most-visible surface, the ironing guide covers flat-top finish, and OrcaSlicer’s painted-seam workflow is detailed in OrcaSlicer features worth knowing.
For overhang and cooling settings that interact with seam quality on slow-cooling materials, FDM Desk covers material-specific cooling profiles. The tree supports configuration guide earlier on this site covers the related question of support seams, which are governed by separate settings.
For more context, Bambu Lab printer reviews covers related topics in depth.